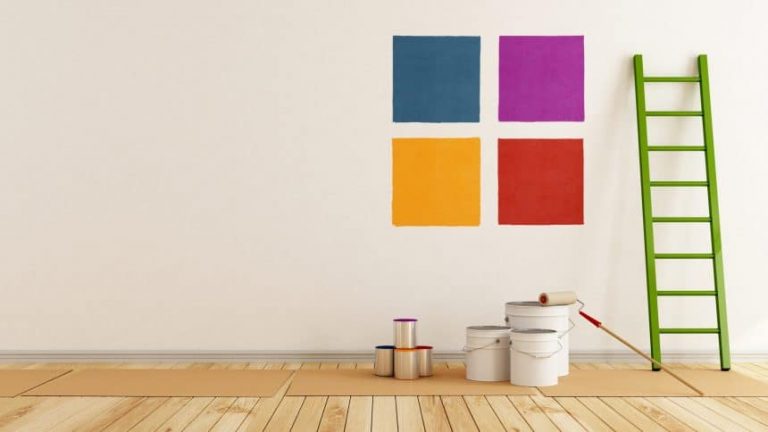
How to Correctly Apply Interior Wall Paint to Your Home
If you’ve ever found yourself amid an embarrassing number of unfinished paint projects in your home, or simply found painting to be a frustrating experience, this guide is for you.
Before you get a crazy idea to paint your entire house the color trend of the year, pause and consider what kinds of things you’ll need to get to avoid disaster. Paint your interior walls the right way and be happy with them for years to come!
Despite what you may think, painting interior walls is nothing like painting any other surface. They have edges, trim, and baseboards — not to mention picking the right kind of paint itself to withstand everyday wear and tear.
The simple fact is, painting the interior of your home without the proper techniques or equipment will cause problems. Learn how to correctly apply interior wall paint here with our handy checklist for success.
How To Apply Interior Wall Paint The Right Way
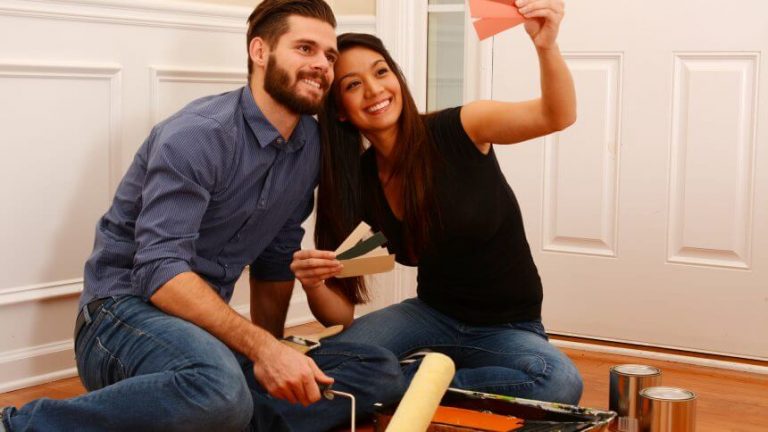
new coat of paint can take a drab, boring room and give it a whole new life. Painting your walls is a great way to show off your style and make the space feel like your own.
Taking the time to prepare your walls and your home for a new coat of paint is worth the extra time and investment in order to guarantee you’ll fall in love with it. Use this guide of painting techniques and handy tricks before you begin.
1. Prepare Your Walls For Paint
This may sound obvious, but the excitement of starting a new home improvement project can make you forget to complete this crucial step.
Make sure to clean your walls before you paint! Even though walls aren’t something we regularly clean, they still can and do collect dust and spider webs that will get in the way of your painting project.
Additionally, you should take this time as an opportunity to fill any old holes in your walls with spackle. Once you paint, your walls will look brand new and pristine!
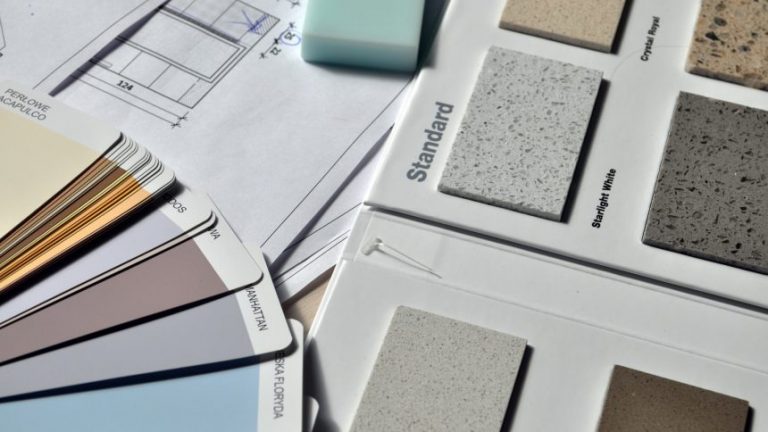
2. Ensure Color Consistency, aka Buy Enough Paint!
If you’ve been unlucky enough to know the feeling of needing to repaint your entire space for a second time, you’ll know how important it is to avoid it. If you’re painting over a bold color, it’s likely going to take more than 2 coats of paint to cover it, especially if the new color is lighter than the old one. Factor this into your budget and your shopping list.
The general rule of thumb is that you’ll need about one gallon per 400 square feet. It’s always best to have more paint than you need, so round up! Paint lasts a long time if properly sealed, and can be used later for touchups. If you need, there are tons of online calculators available to come up with a precise number of cans you will likely need.
If you’re going from really dark to really light, it’s a good idea to use a gray primer first, so ensure an even and smooth final finish.
Pro tip: if you’re painting a huge area, mix individual paint buckets together into a larger bucket before starting. There can be very slight color variations in different buckets of paint that can be obvious once on the wall. This can be avoided if you mix them all together first.
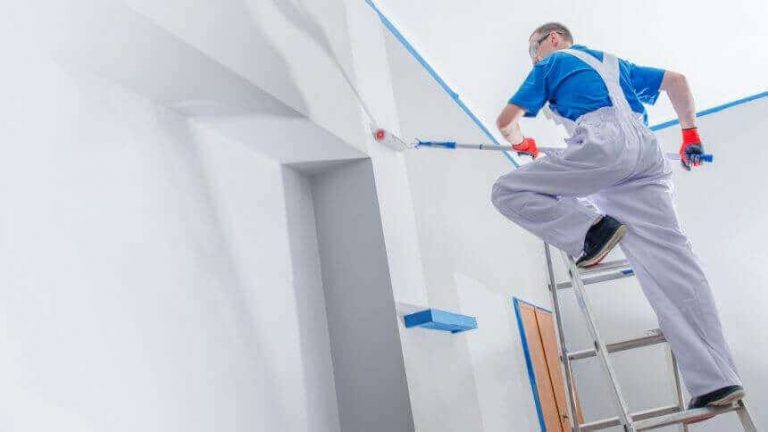
3. Roll Like A Pro
While most paint these days is very forgiving when it dries, you can still encounter what are called “lap marks”. These can occur if you aren’t intentional with your roller technique.
To avoid having uneven paint layers, where some areas are thicker than others, try to paint quickly and roll the full length of the wall as you move. This technique is otherwise known as maintaining a “wet edge” while you paint.
Always make sure your roller is at least half loaded with paint and you aren’t painting with a dried-up roller. You’ll only end up needing to go back over it and increase your risk of lap marks. Any thicker areas of paint can be rolled back over to spread it out.
4. Think Outside Your Walls
In order to ensure a successful painting project, you need to think of the rest of your house too. If you’re not painting your baseboards, trim, and ceiling, tape off those areas with painter’s tape before even opening the paint can. This can take time, so factor this preparation time into your timeline. You’ll thank yourself later!
You also want to invest in a cotton drop cloth for your floors. There’s nothing worse than scrubbing dried paint off your floor days after you paint. Plastic drop cloths work if you’re on a tight budget, but they can be slippery and crumple up, which can cause spots for the paint to get through. Cotton drop cloths are thick and sturdy and can be re-used for future projects, too.
5. The Finishing Touches
Once you’ve expertly rolled your walls, it’s time for the finishing touch. Take a brush and “cut in”— aka paint along the length of molding and the corners from top to bottom while the wall paint is still wet.
It’s best to completely finish one wall at a time for the same reason — you never want to be painting wet over dry paint in different spots. If you have a friend on hand, have them roll while you brush the edges.
6. Clean Up
Don’t clean up everything until the wall paint has dried and you’ve made sure you’re happy with the results.
Be sure to gather all materials and pick up the drop cloth last. For latex- and water-based paints, clean brushes with soap and water in the sink. If you’d like to reuse rollers, make sure to remove the paint under running water and store in a dry place.
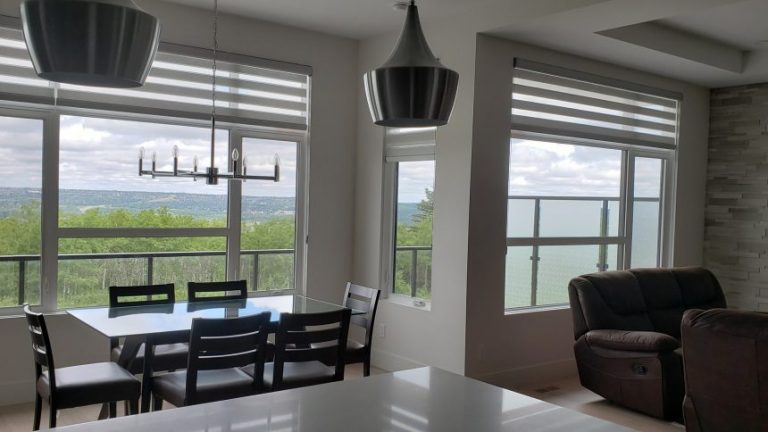
Enjoy Your New Interior Wall Paint
With these expert tips, you’ll spend less time cursing your painting project and more time enjoying your beautiful new interior wall paint! Make sure to give yourself enough time to do this project properly. Don’t schedule a 5 pm dinner for the day you paint — give yourself the whole day!
Need additional help or want ideas on how to paint your rooms? Contact us today to get a quote!