Your Guide to Doing a Stencil Accent Wall That Looks Amazing
If you are looking for an elegant way to add style to your home’s interior without taking on a major remodeling project, then consider a stencil accent wall.
An accent wall makes a dramatic statement, but it doesn’t require the professional home improvement skills that you might think.
In fact, with a little guidance, practically anyone can pull off a beautiful accent wall.
With our help, you’ll have a stencil accent wall that rivals the work of your favourite interior designer.
So, block off an afternoon and grab your paint.
We’re showing you how to transform your living space into the Art Deco design trend you love with a do-it-yourself accent wall!
How to Create a DIY Glamourous Stencil Accent Wall
By now, you might be thinking that this is another one of those crazy do-it-yourself art projects that can’t be done without possessing superhuman artistic talent. But, don’t worry. We aren’t expecting Tamara de Lempicka to magically appear in your place.
This is truly something you can master all on your own. But the only way for you to know for sure is to get started, right?
So, here we go.
First, Gather Your Materials
The first thing you’re going to need is the materials to get the job done.
Before you even think about getting started on your stencil accent wall, you’ll need to gather the following:
- stencil
- stencil brush
- painter’s tape
- pencil
- wall color paint
- accent color paint
- paper towels
- level
Once you have everything on your list, you’re ready to move on to the next step.
Prepare Your Wall
Choose the wall that you want to accent. If necessary, paint the wall the color that you have chosen as your background shade and let it dry completely. Make sure that you use a high-quality paint so that your design is not compromised.
Choose Your Design and Layout
Then you will need to decide on the stencil design you want to use. When you have chosen your stencil, you are going to need to determine its layout.
To do this simply position your stencil at the desired starting point. Then, tape it to the wall using painter’s tape.
Apply Paint to the Stencil
You are going to apply the chosen accent shade of paint by stencilling with the dry brush method.
Dab your stencil brush’s tip into the paint. Then, remove any excess paint on to a paper towel that you have set aside. After dabbing the excess onto the paper towel, dab the stencil brush into the open design areas of the stencil itself.
Remember, you should not brush your paint over your stencil in a sweeping motion. This will cause paint to seep underneath the edges of the stencil, resulting in an undistinguishable design.
Apply pressure around the openings where you are applying paint. This will ensure that your design is neat and recognizable when you remove the stencil from the wall’s surface.
Mark Your Registration Points With a Pencil
Upon completion, but prior to removing the stencil, you will need to mark all of the registration points with a pencil.
Your registration markings are an important part of the stenciling process because they are what is used to align your stencil tiles and make sure that everything comes out even and close to perfect.
Once you have marked your points, you can remove the tile that is taped to your wall and line it up accordingly with the pencil markings for the next stencil. At this point, you should use your level to be certain that the stencil tile is lined up exactly with the one you have already completed.
If it appears to be exact, as much as you can tell anyway, then you can tape the stencil to the wall in its new location.
Repeat the Above Steps for Each Square Area of Your Wall
With the stencil firmly taped in its new destination, you can begin to repeat the steps outlined above.
You will do this over and over again until you have covered the desired wall with evenly-spaced designs.
When you have covered the entire wall, it should look like one fluid and oh-so-glam, picture-perfect accent wall.
Create a Finished Look
In order to create a finished, faux wallpaper look, you will need to continue stencilling to the wall’s border. Once you reach the border and remove any stray painter’s tape, then you should check to make sure the edges of your design appear continuous.
If you happen to notice any lightened shaded areas or stray brush strokes, simply dab your brush until the design appears uniform.
Step Back and Admire Your Newly Designed Accent Wall
Now that your stencil accent wall is complete, you can stop for a moment and pat yourself on the back for a job well done. Then, you can wait patiently for visitors to ooh and aah over your home’s professionally decorated wall design (that actually is not professionally decorated at all!). But don’t worry, we’ll never tell.
Besides, you are probably ready to move on to more advanced interior painting projects after seeing how wonderfully this one has turned out, right?
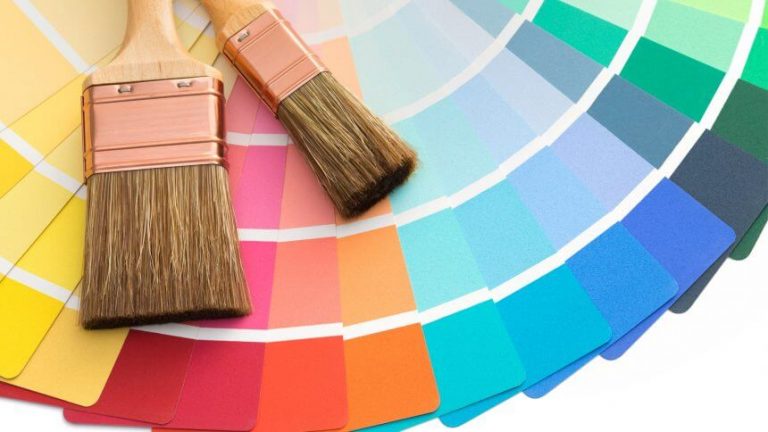
Well, before you get any ideas, we’ve got some advice that may interest you. While your new handiwork might look like something out of an interior design magazine, you probably shouldn’t get too carried away just yet.
There are a few tricks that can help you choose how you want to paint the rest of your home. And, we might be able to help you determine the best pallet to create just the right color scheme, too.