Top 10 Tips for Painting Kitchen Cabinets
You don’t have to borrow a small fortune to revamp your entire kitchen.
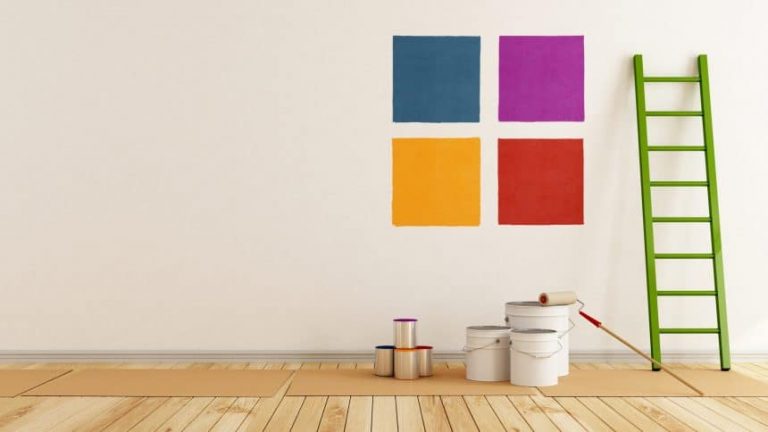
You’ll be amazed by the difference a fresh coat of paint can make to an old room. If you’re thinking about repainting the cupboards in your kitchen to give it a new look, this post is for you.
It seems simple enough, but there are plenty of things that can go wrong when you try to paint delicate wooden surfaces. The tiniest bumps can make a paint job look messy and tacky.
Keep reading to learn our top 10 tips for painting kitchen cabinets.
Don’t Use Wall Paint for Painting Kitchen Cabinets
Everyday wall paint won’t do well on kitchen cabinetry.
Make sure you use a high-quality paint formula with alkyd enamel. It’ll cost more, but the formula is self-leveling. You can rest easy knowing it’ll last longer and leave a smoother finish.
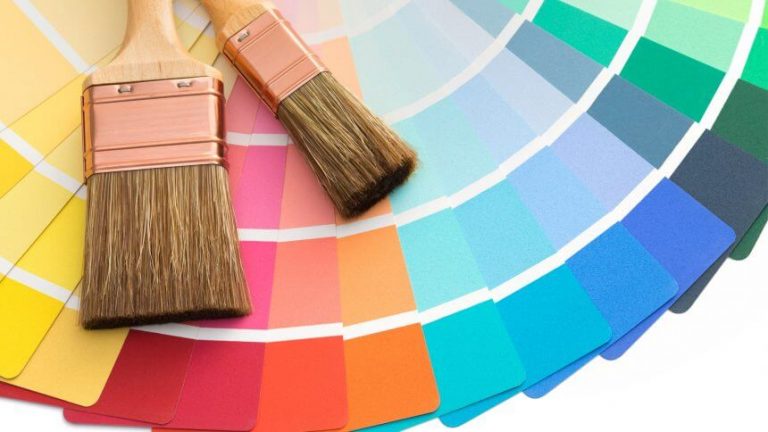
Pick a Paint Color That Matches Your Appliances
Unless you plan on spending several thousand dollars on all new appliances soon, it’s best to coordinate your new paint with the rest of your kitchen.
Pick your cabinet paint color carefully. Take your time. Bring home as many swatches as you need before you bring home all those buckets of paint.
Don’t have all matching appliances? Don’t worry. Pick a clean, calming, neutral color to tie the whole kitchen together.
Remove All The Cabinet Doors and Hinges
That’s right, unscrew every hinge and doorknob after you take off every cupboard door.
It’ll be nearly impossible to paint cabinet doors still attached to the counter. You’re going to be taking them outside to sand and prime. And before you do, you need to make sure the metal hinges and knobs won’t get covered in paint.
Do yourself a favor, and neatly organize and label these hinges and knobs. You’re going to need to put them all back exactly as they were later.
Label All Cabinet Doors
Speaking of organizing and labeling, you’ll want to draw a small map of all the cabinets you’ll be painting.
Use this map to number your detached cabinet doors lightly in pencil. This will help you stay organized even as you shuffle all the doors around from room to room. After you finish all your painting in the garage or front yard, you’ll be able to put all the doors back in their place with no problems.
Protect The Floors and Countertops
Cover your kitchen countertops with rosin paper, and roll up all the rugs you can.
Nobody intentionally drips paint everywhere, and yet it happens all the time. Plan ahead and protect all the kitchen surfaces you can in the beginning. This will save you hours of clean up later.
Even if you’re doing the majority of sanding and painting somewhere else, trust us. Better safe than sorry.
Get All That Grease Off
To get the smoothest paint coating possible, you need to start with a grease-free surface.
Before you can properly sand and fill in your wooden cabinets, wipe them down with a grease-cutting solution. Dish soap will work. You may want to use some Goo-gone or TSP substitute.
Rinse off your cleaning solution with clean water, and dry your cabinets before moving on to the next step.
Sand, Vacuum, and Use Tack Cloth
Starting with the smoothest surface possible will do wonders for your finished cabinets.
Consider renting a power sanding tool to thoroughly smooth each cabinet. Vacuum up the dust, and remove stubborn debris particles with lots of tack cloth.
Don’t cut corners on this step! Any specks of dirt will create a bump in your layers of primer and paint. Thankfully, tack cloth is only a few dollars per packet. Buy extra just in case.
Use a Fast Drying Primer
Your entire cabinet painting project will go much faster if you invest in a fast drying primer.
Seriously! A fast drying primer will save you hours of wait time.
Use an enamel underbody primer. These oil-based paints sand easier and create the most level finish. You’ll thank us later.
Use Light Coats of Paint and Sand Between Coats
Thick coats of paint take longer to dry, and are more likely to develop unsightly lumps and bumps.
To ensure a clean, level finish, take your time. Do one thin coating of paint and let it dry completely. Sand off any small ridges your brush or roller may have left. Remove all the dust with more tack cloth, and start the next thin layer of paint.
The more detail oriented you are during this step, the nicer your finished work will look. Remember, you’ll be seeing these cabinets every single day.
Use Quality Brushes, Or Consider Airbrushing
Speaking of brushes and rollers, make sure you invest in high-quality brushes.
Small sponges with sharp corners are great for painting neatly around the edges of your cabinets. Or, for an even more flawless coating, you may want to invest in an airbrush machine to make it easier for the edges.
Renting an airbrushing device will help you create the lightest, smoothest layers of paint possible. This is a technique some professionals use when toning the edges on cabinet doors.
But no matter which brushes you end up going with, remember to follow painting basics. Follow the grain of the wood, and use plenty of painters tape.
Might As Well Get Help From Professionals
Painting kitchen cabinets instead of replacing them is a great cost-effective way to remodel.
But don’t expect to get decent results without some serious effort, here is another step by step guide if you need more help. We’d love to help you tackle your next cabinet painting project and finish it professionally in our shop where we can spray them in an extremely durable lacquer finish.
Contact us for a quote today and you can get an instant painting quote for your walls, ceiling and trim if interested.