How To Create An Ombre Wall In Your Home
From 90’s style tie-dye clothing to ombre hair coloring, ombre is a trend that keeps finding its way back into the spotlight.
The latest trend is having ombre splashed over the walls of your home!
The ombre look is striking and artistic, yet can be subtle and calming. From tropical vibes with glowing colors to minimalist designs with crisp whites and greys. The ombre trend is extremely diverse.
But what exactly is ombre painting? And how can you create an ombre wall in your home? Read on for the 411.
What’s The Ombre Trend All About?
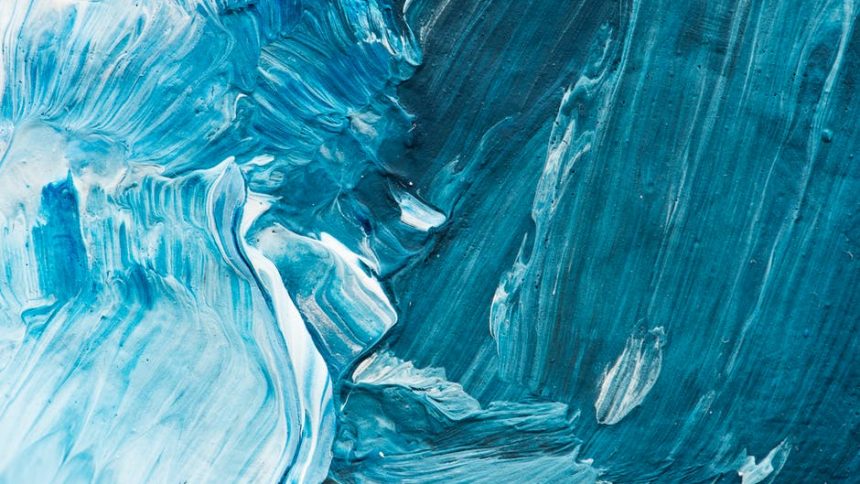
What is ombre painting? An ombre wall is basically one color melting into another creating a water-color effect. You can use an ombre paint effect on a feature wall or even on furniture and other surfaces.
Although ombre walls look like a work of art, it’s not as complicated as you might think.
Create an Ombre Wall—Step by Step
Now you know what ombre walls are, you may wonder how to paint an ombre wall. It’s not as easy as painting a one-color feature wall, after all.
Follow this step-by-step guide and you’ll be a pro in no time.
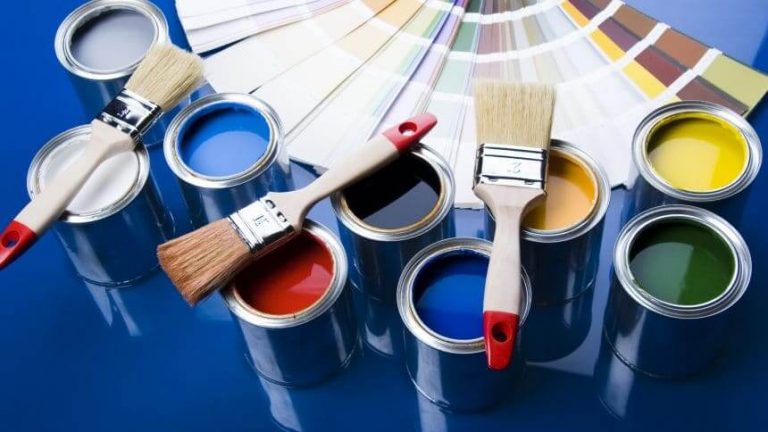
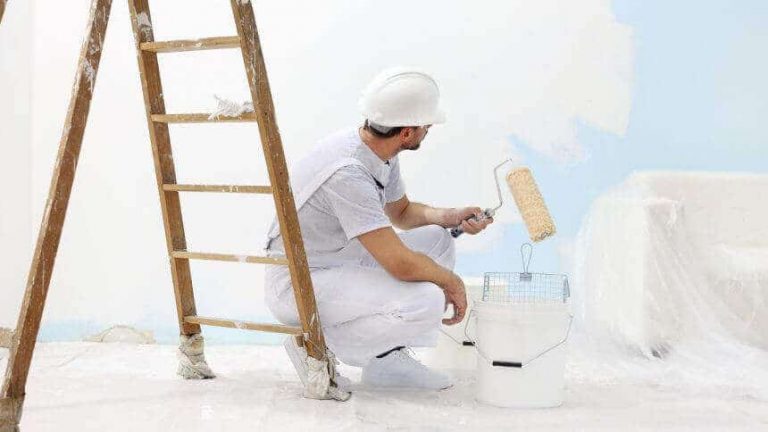
Tool Box At The Ready
Before you start ombre painting, you need a well-equipped toolbox. Here are some of the tools you will need:
- Primer
- Paint (in each color you’re blending with)
- Paint Trays (a separate tray for each color)
- Paintbrushes and rollers (one for each color)
- Measuring tape
- Level
- Masking Tape
- Pencil
- Ladder
- Buckets and Paint Mixer
Once your toolbox is ready, you can get down to business.
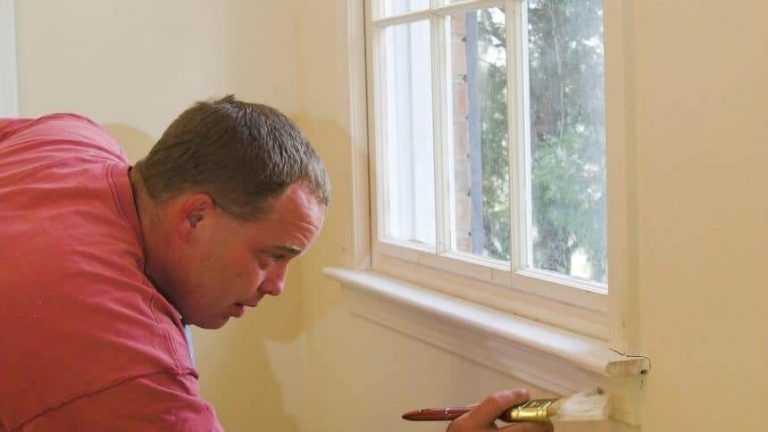
Wall Prep Like a Boss
Before painting any wall any color (ombre or not) using a primer is always a good idea. It seals the walls nicely and increases paint durability. It will also be a lot easier for you to paint over a primer than a bare wall.
However, using primer doesn’t mean you have to skip cleaning the walls. Make sure to give the walls a good clean BEFORE you even use a primer.
After cleaning, use a roller to apply a coat of white primer. Don’t forget to tape off the baseboard and any other trim. Let it dry completely and get ready for the next step.
Go With The Flow
When deciding how to paint an ombre wall, you need to choose the direction of color flow. Will it transition from dark at the bottom to light at the top? Or light at the bottom and dark at the top?
When it’s light at the top, it can make the ceiling feel higher and the room larger. But if you want a cozy feel, opt for dark at the top and light at the bottom.
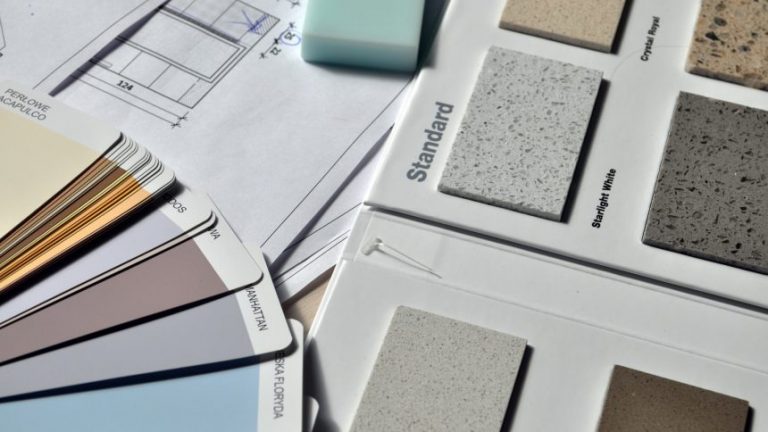
Find Complementary Blends
When painting ombre walls, color is key. The colors need to blend well and complement each other. At the same time, there needs to be a distinction between the colors, or you won’t be able to see the ombre painting effect.
Try using a color wheel to find colors that blend together well. There really is a science to finding complementary colors.
Choose darker and lighter shades of the same color for gradient blending. Or for a dramatic result, choose colors that are complete opposites. But that still complement each other.
For instance, try Pantone’s Color of the Year, “Living Coral” at the bottom. Blend it into a light peach color, and then white at the very top for a gradient look. Or a rich teal hue fading into a deep blue for an oceanic feel. Just use your imagination!
If you’re not sure how it’s going to look, buy a few samples and test them out on your wall. Leave the paint to dry and see how it looks both in daylight and at night. This will give you a clear idea of how it will look on your walls.
Divide The Wall
First, divide the wall into three (or more) horizontal sections. Three sections give a classy blended look. But if you want more of a gradual color change, divide the wall into as many sections as you want.
Divide the wall using a measuring tape and a level. Measure vertically the height of each stripe and make pencil marks on the wall. Then draw a horizontal line according to the pencil marks.
It’s always a good idea to use a level to make sure your horizontal lines aren’t veering off diagonally.
Paint Preparations
When choosing ombre paint colors, you have two options. Either use a selection of ready-made colors. Or choose one feature color and add white or dark paint to create a different shade.
Use three paint trays, one for each color. If you’re mixing white with your feature color, you’ll need a separate bucket and mixing stick.
Once you fill your trays with paint, you’re ready to start ombre painting.
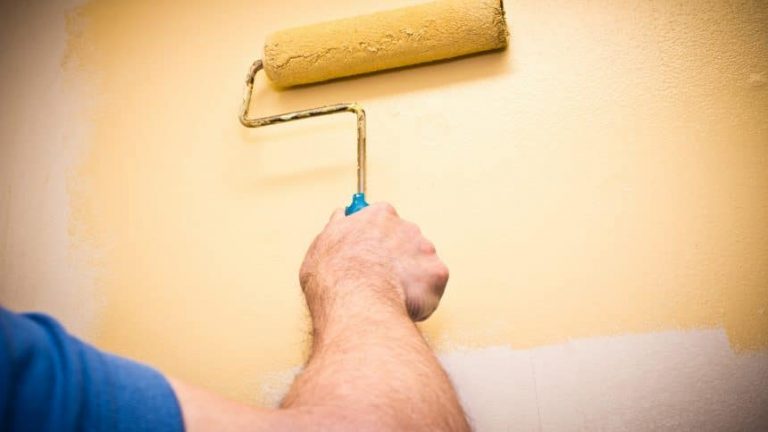
Keep Rollin’
Roll each section with your chosen shade. For example, start with the darkest shade at the bottom and work your way up.
Leave a gap of around 1 inch between each color. You will use this gap for blending later.
Blend With Ombre Wall Paint
There are three ways to blend when ombre painting:
- Use a large dry paintbrush to make X strokes over the two different colors. Make sure to do this quickly before the paint dries.
- Follow the same technique as above, but use a damp sponge or roller instead.
- Line your paint trays together. Dip a large paintbrush into both colors, half the paintbrush in one color, and half the paintbrush in the other color. Paint the gaps between the paint.
Whichever technique you try, make sure to act fast before the paint dries. Allow the finished result to dry. Then sit back, relax, and enjoy your work of art!
Time For a Lick of Paint
As you can see, creating an ombre wall in your home is easier than it sounds. All you need is a steady hand and an eye for color. Before you know it, you’ll have a Pinterest-worthy feature wall to be proud of!
But if you feel you’re just going to make a mess of it, don’t worry. We’re here to help.