Top 10 Wall Painting Techniques to Get the Perfect Finish
In this day and age, do-it-yourself (DIY) projects have become popular. This may be because people want to save cost or maybe you just want to get creative and give whatever you are doing a personal touch.
Sometimes it might be hard to describe to another person an idea you are thinking of for implementation. The good about today is that there is the internet to help you with anything you want to do, including wall painting techniques that will help the outcome look like that of a professional.
Wall painting is an easy task if the correct techniques are followed. Plus, painting your own wall by yourself helps you become more experienced and opens up a window for flexibility, meaning you can switch up your paint job frequently. House painting requires patience and creativity.
There are several paint techniques that will help even a first timer when at work. These painting techniques for walls will help you save time while still doing quality work on your walls.
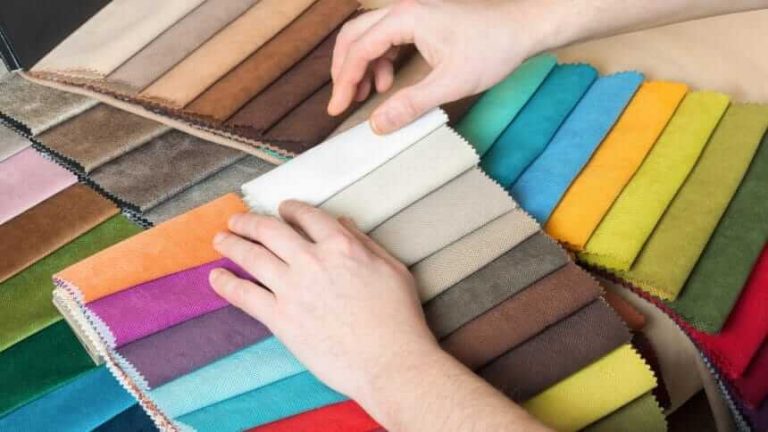
1. Consistency In Color
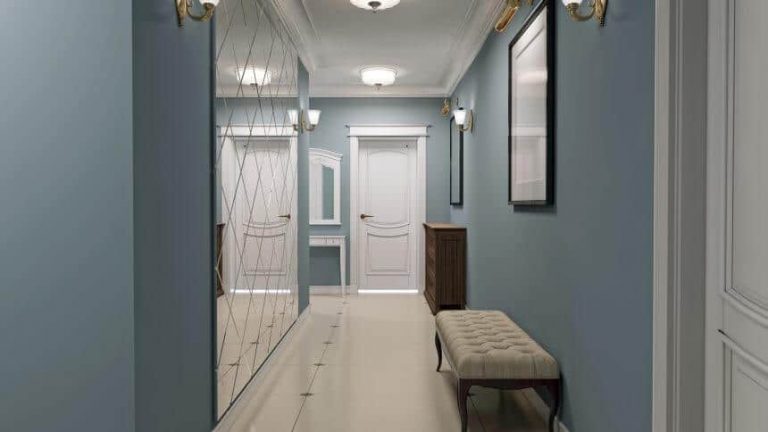
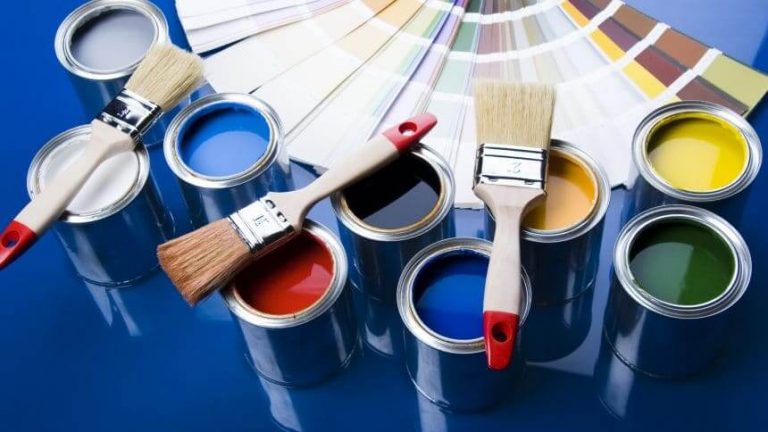
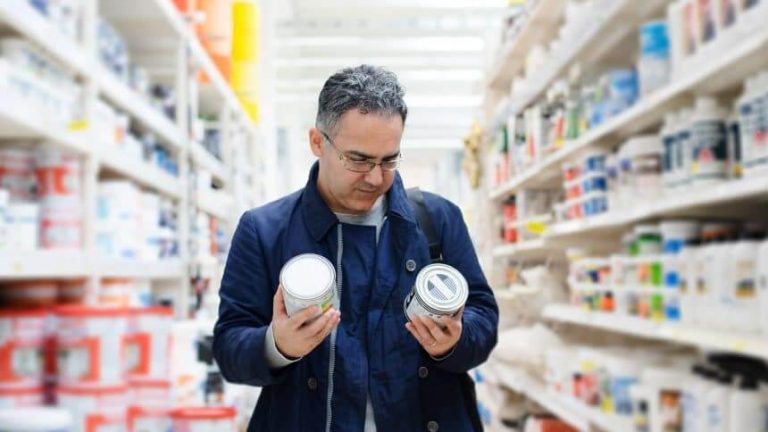
During interior painting, you want the paint on the wall to be the same color all through. Knowing the number of paint cans, you will need for your wall is one of the key interior painting techniques.
Mixing all the paint first ensures color consistency during painting. Estimating the amount of paint needed might be difficult, especially if you are painting the wall for the first time. However, you will rather end up mixing excess paint than less.
2. Clean Dirty Surfaces Before Painting
Painting over dirty or oil surfaces will greatly reduce the quality of the paint job, making the paint peel off easily. Clean the wall with a deglosser or heavy-duty cleaner that is meant strictly for pre-paint cleaning.
3. The Trim Should Be Painted First, Then The Ceiling And Walls
It is easier to tape off the trim than the wall. This is why you paint the trim first since you don’t have to be extra cautious. If the paint off the trim gets to the wall, no worries since you will cover it when painting the wall.
After painting the trim, leave it to dry for at least 24 hours before taping it off using ‘easy release’ painter’s tape. Then, paint the ceiling and then finally the walls.
4. Ultra-Smooth Finish
When painting the trim, it is important to sand in between coats. This will ensure the surface is smooth, especially since you will need several coats when painting the trim.
Vacuum the trim after every sanding and then wipe it down to remove the dust. After applying the first coat, let the paint dry for at least 24 hours before sanding.
5. Roll The Full Wall
Sometimes if you are not careful, there will be stripes that will occur due to uneven layers of paint buildup called lap marks. That will happen when some part of the wall is partly dry, and you roll over it. This why it is recommended to maintain a wet edge, ensuring that each time you roll overlaps the previous stroke before the paint dries up.
Start near a corner and then run the roller up and down the full height of your wall, and after with each stroke slightly move over. Even out thick spots by moving back where necessary.
Ensure the roller is always at least half loaded with paint. To avoid leaving paint ridges, let the open side of the roller frame face the already painted area.
6. Perfect Edge
The tape is used to prevent paint from smudging on the edges. Do not just pull off the tape; it might come out with pieces of dried paint thus, cut it loose.
Moreover, wait for at least 24 hours before cutting the tape loose. This is to ensure the paint is hard enough. Pull the tape at a 45-degree angle when cutting the paint.
7. Prime And Texture Wall Patches.
If your wall has cracks or holes, it is important to use a primer. The primer will seal the patches to ensure the paint doesn’t sink in and end up looking dull. A primer helps eliminate texture differences and flashing on the wall.
8. Consistent Texture
The edges that are painted using a brush will have a different texture. It is thus crucial to roll paint before it dries up immediately after brushing. For the edges, get a 3” inch roller and make sure it has the same thickness as the one being used for the rest of the wall.
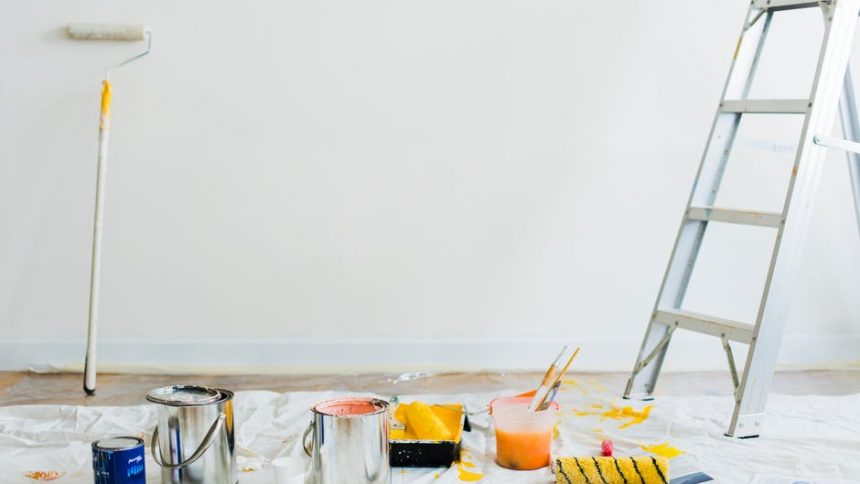
9. Use Cotton Drop Cloths
When preparing for painting, you will need to cover the flows since there will most definitely be spills. Using plastic is not a good idea, especially since it might be slippery to walk through or use a ladder one.
Furthermore, when paint falls the plastic, it will stay wet for an extended period and can stick on your shoe and then end up on the floor of other rooms in the house. Use thick canvas instead, and in more slippery floors, use rosin paper. Clean up large spills with paper towels or cloth rags immediately.
10. Wet Edge Keeping Tactic
It is difficult to keep a wet edge in some areas like the ceiling, stairwells, or extra-tall walls. Make the feathered coat of paint thinner to avoid lap marks.
Wall Painting Techniques
Understanding wall painting techniques is a great way of making work easy and efficient. Practice over time will make the painting job seem easier than the first time. However, there are still professionals painters out there who can help you while at the same time also teach you.
Remember, patience is the key to a good paint job.