How to Paint a Wall Like a Pro
Nothing changes the feel of a room like a fresh coat of paint. Whether you stick to a classic off-white color or go for something much more vibrant, your space will always look bigger and brighter when you’ve finished.
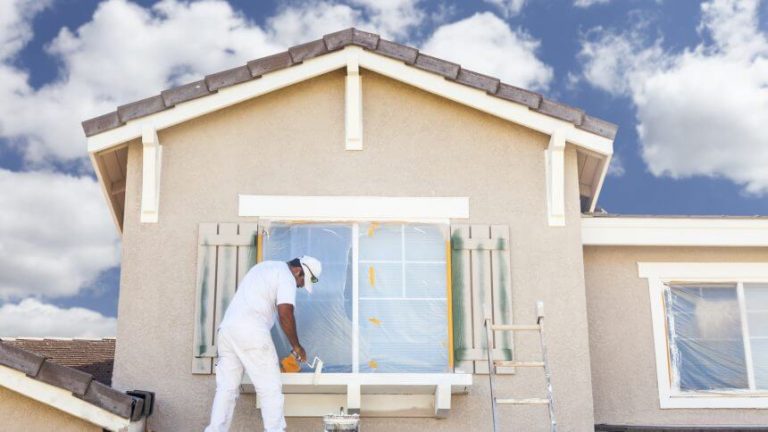
It can be tempting to get a professional in to ensure a high-quality finish. However, if you have a bit of patience, you can save cash and do a professional job yourself. This step by step guide shows you how to paint a wall like a pro, to get the perfect finish every time.
Buy Quality if You Can Afford It
One of the most significant differences between a professional and a DIYer is in the tools. For painting equipment, the price difference between the top and bottom range is usually quite small, particularly when compared to the price of paint. So, if you’ve got the budget, it is worth the extra bit of cash to buy quality products.
For painting almost all walls, you only need a roller and tray, and an angled polyester brush for cutting in around the edges. If your walls are smooth, choose a fine-nap roller (around 1/4 inch) to give the best finish. If you have textured walls, a slightly higher nap helps to get in between all the bumps, but if you are in doubt, the staff at a hardware store will be able to guide you.
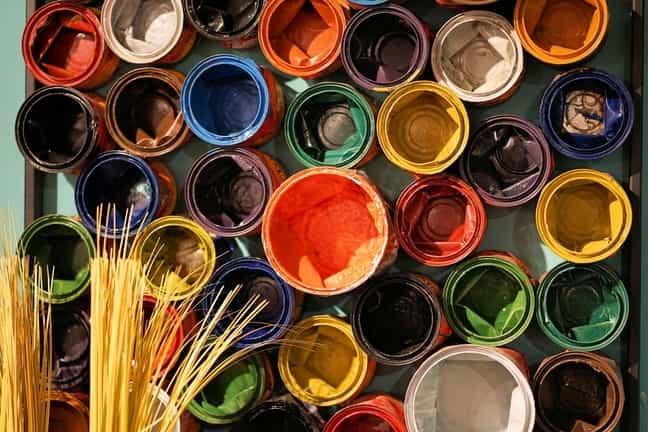
When buying paint, it is always worth choosing a high-quality product if you can afford it. Cheaper varieties are often a false economy, as they contain less pigment and do not cover as well. Not only does this mean more coats, but it will also fade quicker, and you will lose that new-room feel much sooner.
Clear the Area
Once you have all your equipment together, it’s time to get to work! Clear as much out of the room as possible to give you a spacious working area. Anything that can’t come out cover with sheets, and also completely cover the floor so that no paint splashes on to it. A clean working space is essential so you can comfortably get into all of the awkward corners and around any fittings.
Prepare the Surfaces
You can’t get the perfect finish if the surface is full of bumps and divots. All of the indentations will show through on the final coat, so spend some time to fill in any holes, and sand down the wall to smooth it out where needed. Once you’re happy, sweep away any dust, and wash the wall down with a sugar soap solution to remove any oil and dirt.
It is also worth unscrewing any fittings that are on the wall so you can paint behind them. Doing this gives a much more professional finish than cutting in around them. Anything on the wall, from hooks to light switches wants either removing or loosening, but be sure you turn the power off at the mains before you start undoing any electrical items.
Mask or Cut-in?
Where your wall joins a different paint, either mask the join with painter’s tape or cut-in using the angled brush. Painter’s tape can be tricky to line up perfectly in corners and does not always stick well to painted surfaces. As such, most professional’s don’t bother with tape, and will only use it to mask the loosened fittings. Instead, they use the angled brush and a steady hand to give a neat line.
If you are unsure if you have a steady enough hand, it’s worth practicing on a section to see what finish you can get, as cutting-in generally produces a better result. However, if you are struggling, always use tape, as it will give a better edge than a poorly hand-painted line.
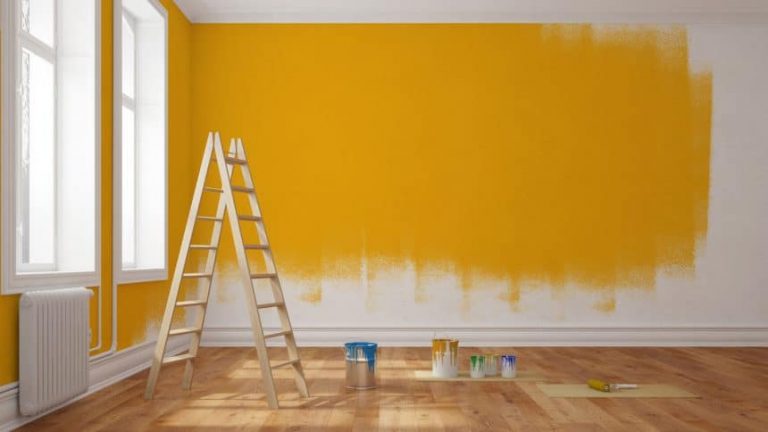
Paint in a W-Shape
After thoroughly mixing the paint, it’s time to start on the wall. There are two ways to go about it, depending on how confident you are with your cutting-in. If you have masked up the edges, you can quickly slap on some paint with the brush and do the rolling in one go. If not, it may be worth doing all the cutting-in first, and then allow it to dry before you put on a coat with the roller.
When you use the roller, add the paint in a W-shape, to distribute it evenly over the wall. Use one roller-full to make a W from left to right, then use another in an M-shape from right to left. Doing this should give enough paint to cover the area, so all you then need to do is fill the spaces by working into the gaps.
Re-coat
When you have done one complete coat, allow it to dry thoroughly before putting on another. Almost all paints (even that advertised as single-coat) will require at least two coats to give the best possible finish. After each layer has dried completely, look to see if there are any inconsistencies in the surface. If you are happy with the finish, there is no need for another coat.
Job done! You can now fix back all the fittings, clean up, bring the furniture back in, and enjoy your new room. Painting a wall does demand a degree of patience, and a lot of the work is in the preparation. However, by taking your time, and making sure you have the right equipment, there is no reason anyone can’t paint a professional quality wall, but you can always get Image Line Painting for your wall painting needs.